
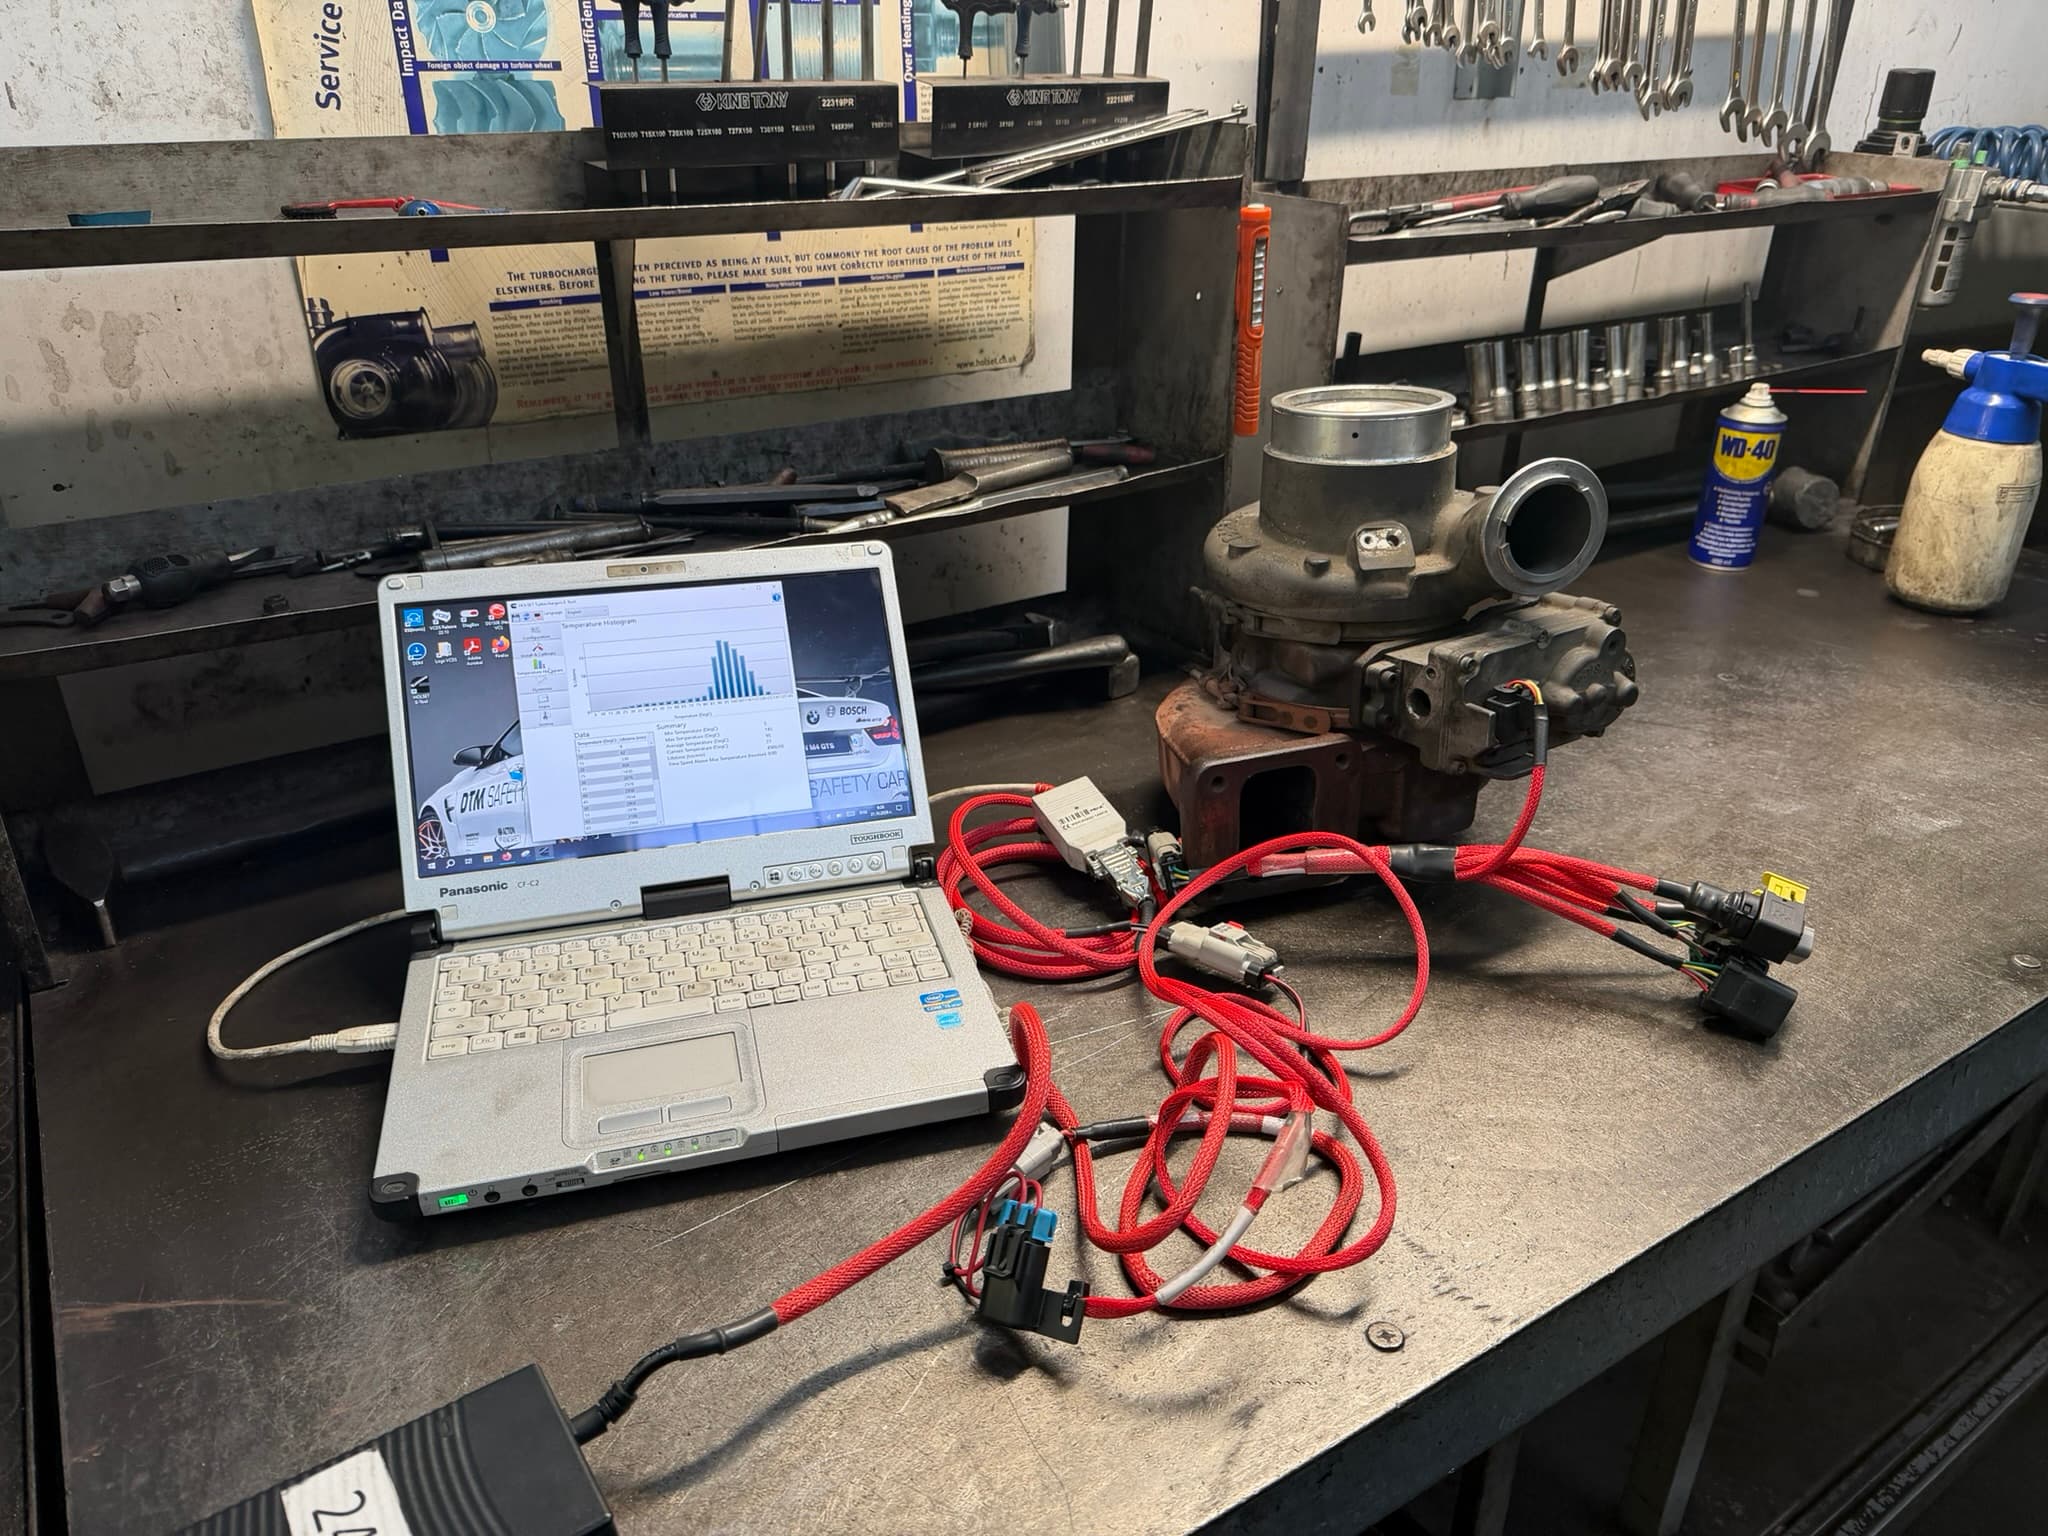
Increased oil consumption, a whistling or whining noise, loss of power, limp mode, black or white smoke – these symptoms often point to a turbocharger problem. However, the cause may also lie in other vehicle systems.
By examining the removed turbocharger, we check its condition and look for clues to the cause of the failure. Even when the turbocharger is visibly damaged, it is important to establish what caused the damage. If the root cause is not eliminated, the same problem can also affect the repaired or new turbocharger.
How does the diagnostic process work?
- 1
Strip-down
The turbocharger is stripped down into its main assemblies: core assembly (CHRA), housings, variable geometry mechanism and actuator.
- 2
Inspection and cleaning
We check the visible parts for signs of damage. We clean the housings and the variable geometry mechanism and inspect them for cracks, distortion and other defects. If we find damage, we prepare a quote for the necessary repair or reconditioning.
- 3
Core assembly (CHRA) test
If the inspection reveals no defects, we test the core assembly on a Turbo Technics VSR high-speed balancing machine for imbalance and oil leaks. Depending on the model, the test is carried out at speeds of up to 250,000 rpm.
- 4
Condition assessment
If all checks are passed without any issues, the turbocharger is in working order within the scope of the tests performed. The cause of the symptoms should then be sought in the other vehicle systems.
Once the checks have been passed without any issues, the turbocharger should undergo preventive maintenance. Alternatively, you can go straight to a preventive repair.
Preventive maintenance is a repair without parts replacement. It covers cleaning, assembly and precise adjustment of the turbocharger, without replacing its main parts. If the actuator or the variable geometry mechanism needs replacing, this is agreed as an additional repair.
The procedure includes:
- 5Assembly of the cleaned and inspected parts.
- 6Setting of the actuator and the variable geometry mechanism on a Turbo Technics VTR flow-setting rig.
- 7Final check and adjustment of the actuator.
- 8Final inspection by a quality control specialist.
Our aim is to give you a turbocharger with a verified condition and correct settings, along with clear information about any problems found and the next steps required.